

Tutorial - Terrestrial Planets - Part 2
| Published: | 06.11.2025 |
improvements
Final results
Atmosphere
Stereo-Image
Pros and cons
Camera and light
Data sources
- Preconditions
- Downloads
- Postprocessing
- Inconsistencies
Lunex
Unlike in Part 1, most of the rendered images were sharpened with GIMP.
Final results
Atmosphere
Stereo-Image
Pros and cons
Camera and light
Data sources
- Preconditions
- Downloads
- Postprocessing
- Inconsistencies
Lunex
improvements
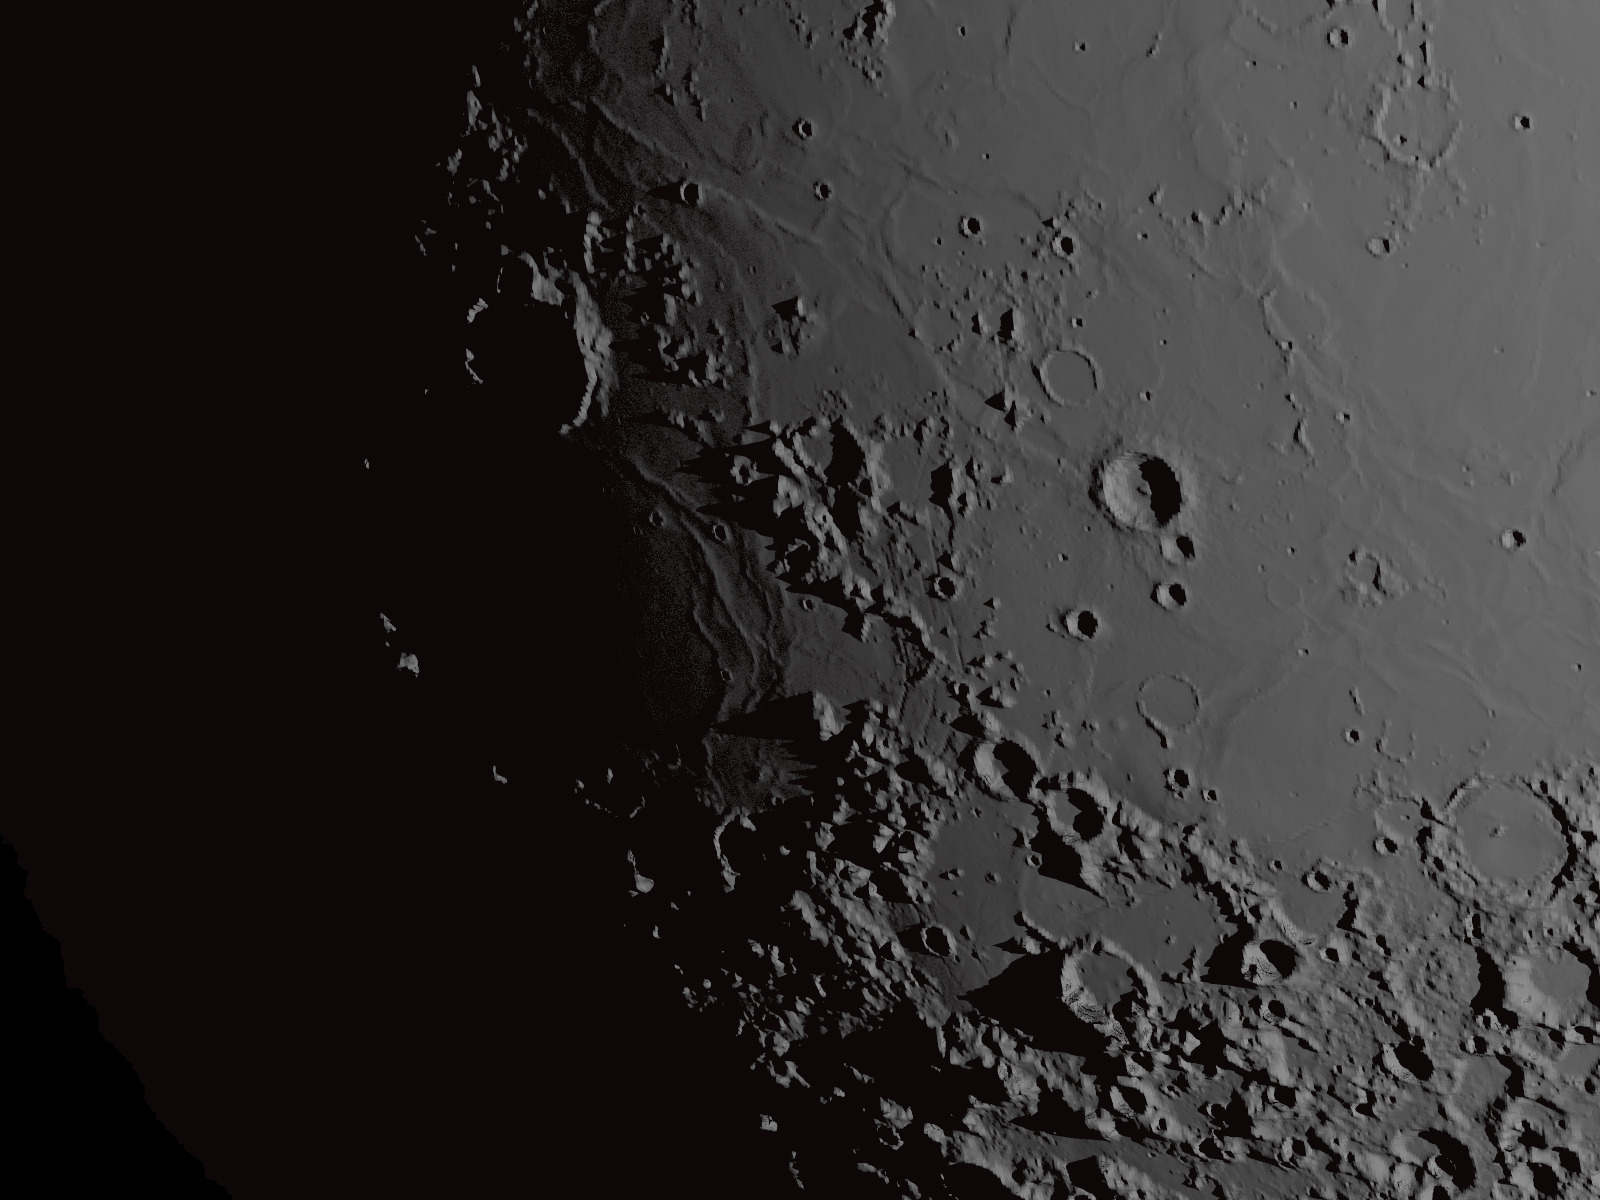
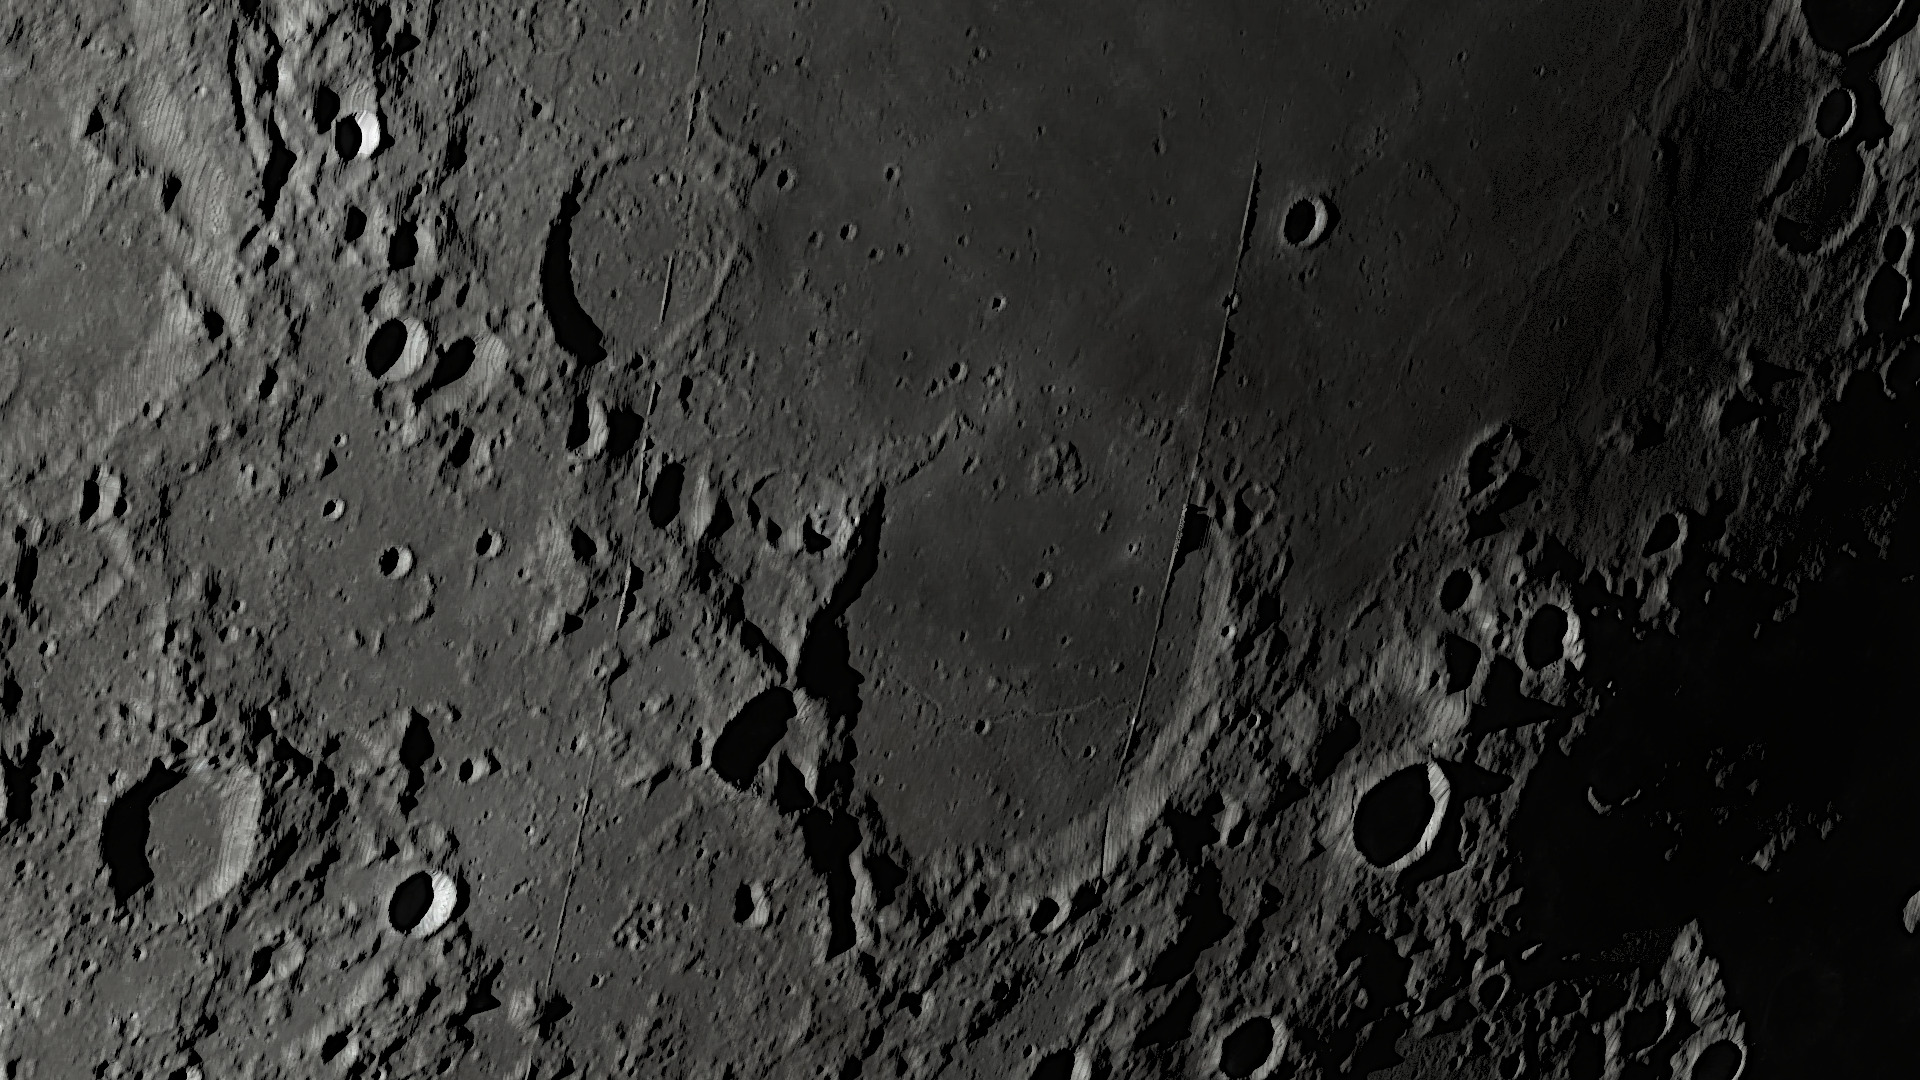
Copernicus crater, with unhealthily high magnification.
Despite maps of 16,000 x 8,000 pixels, there are vertical lines that are a bit annoying.
Despite maps of 16,000 x 8,000 pixels, there are vertical lines that are a bit annoying.
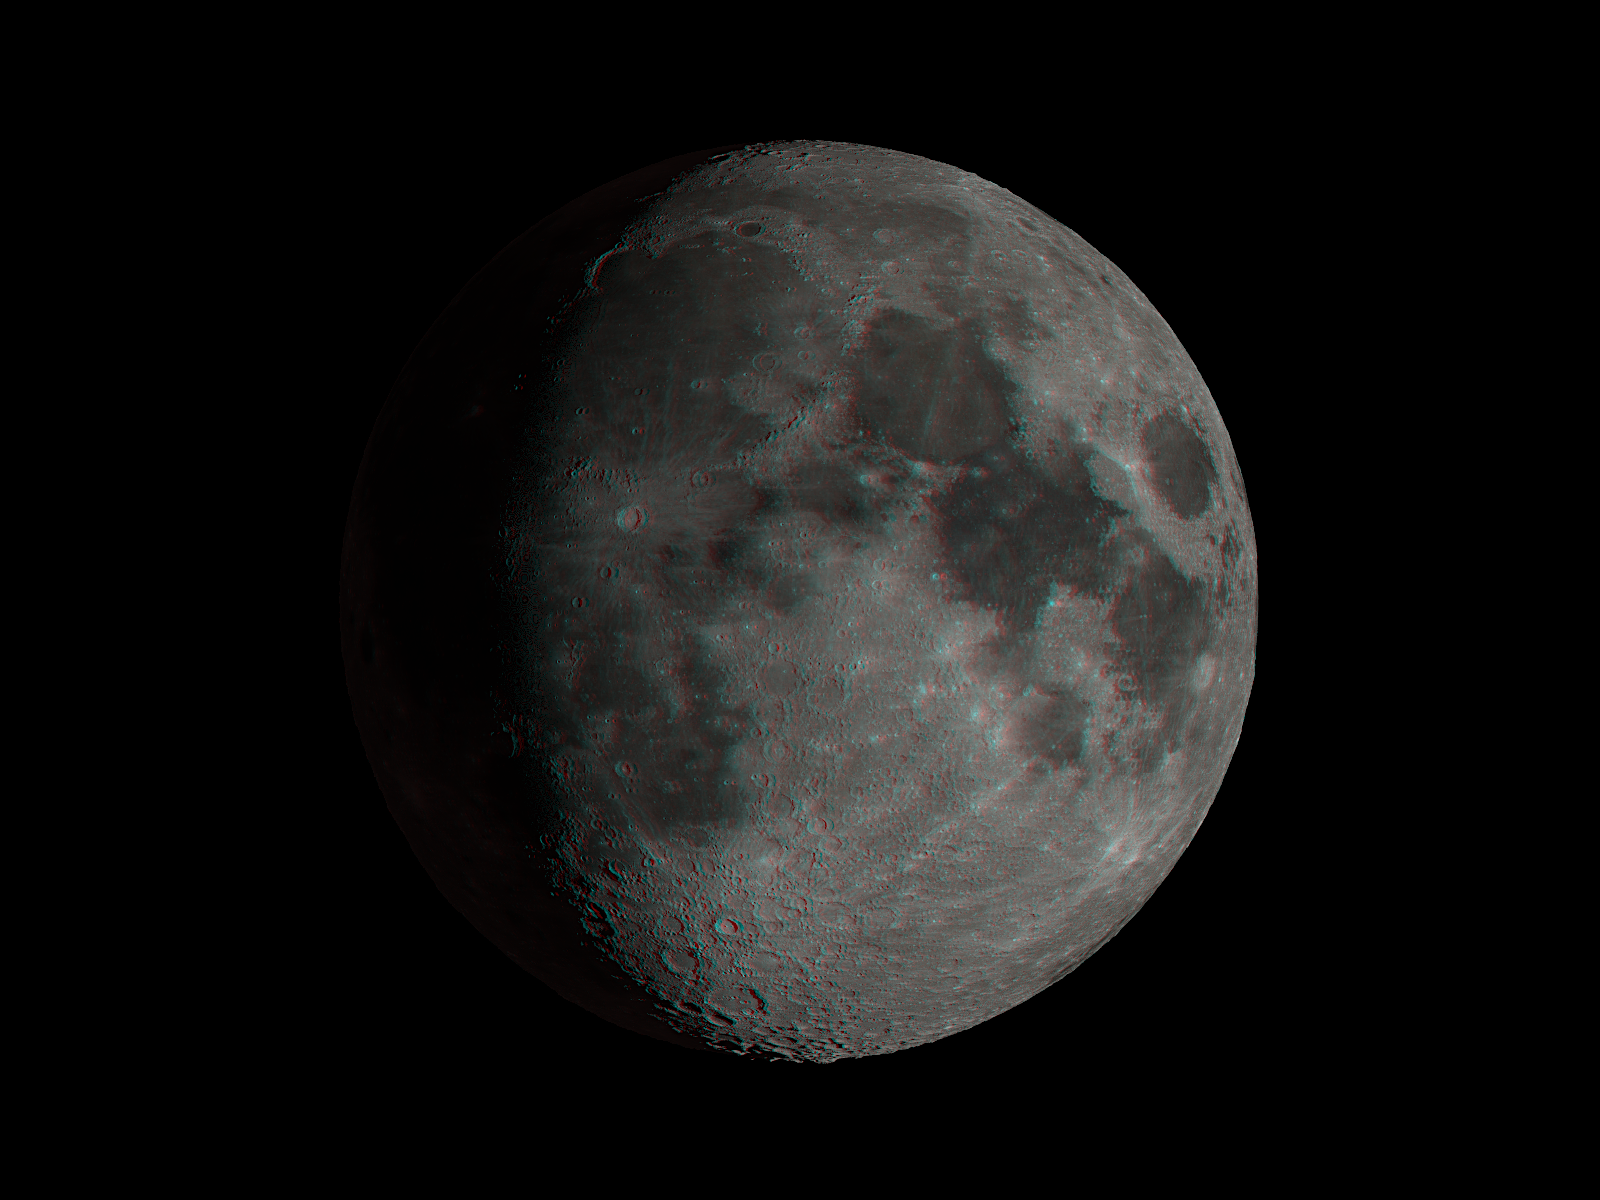
Final results
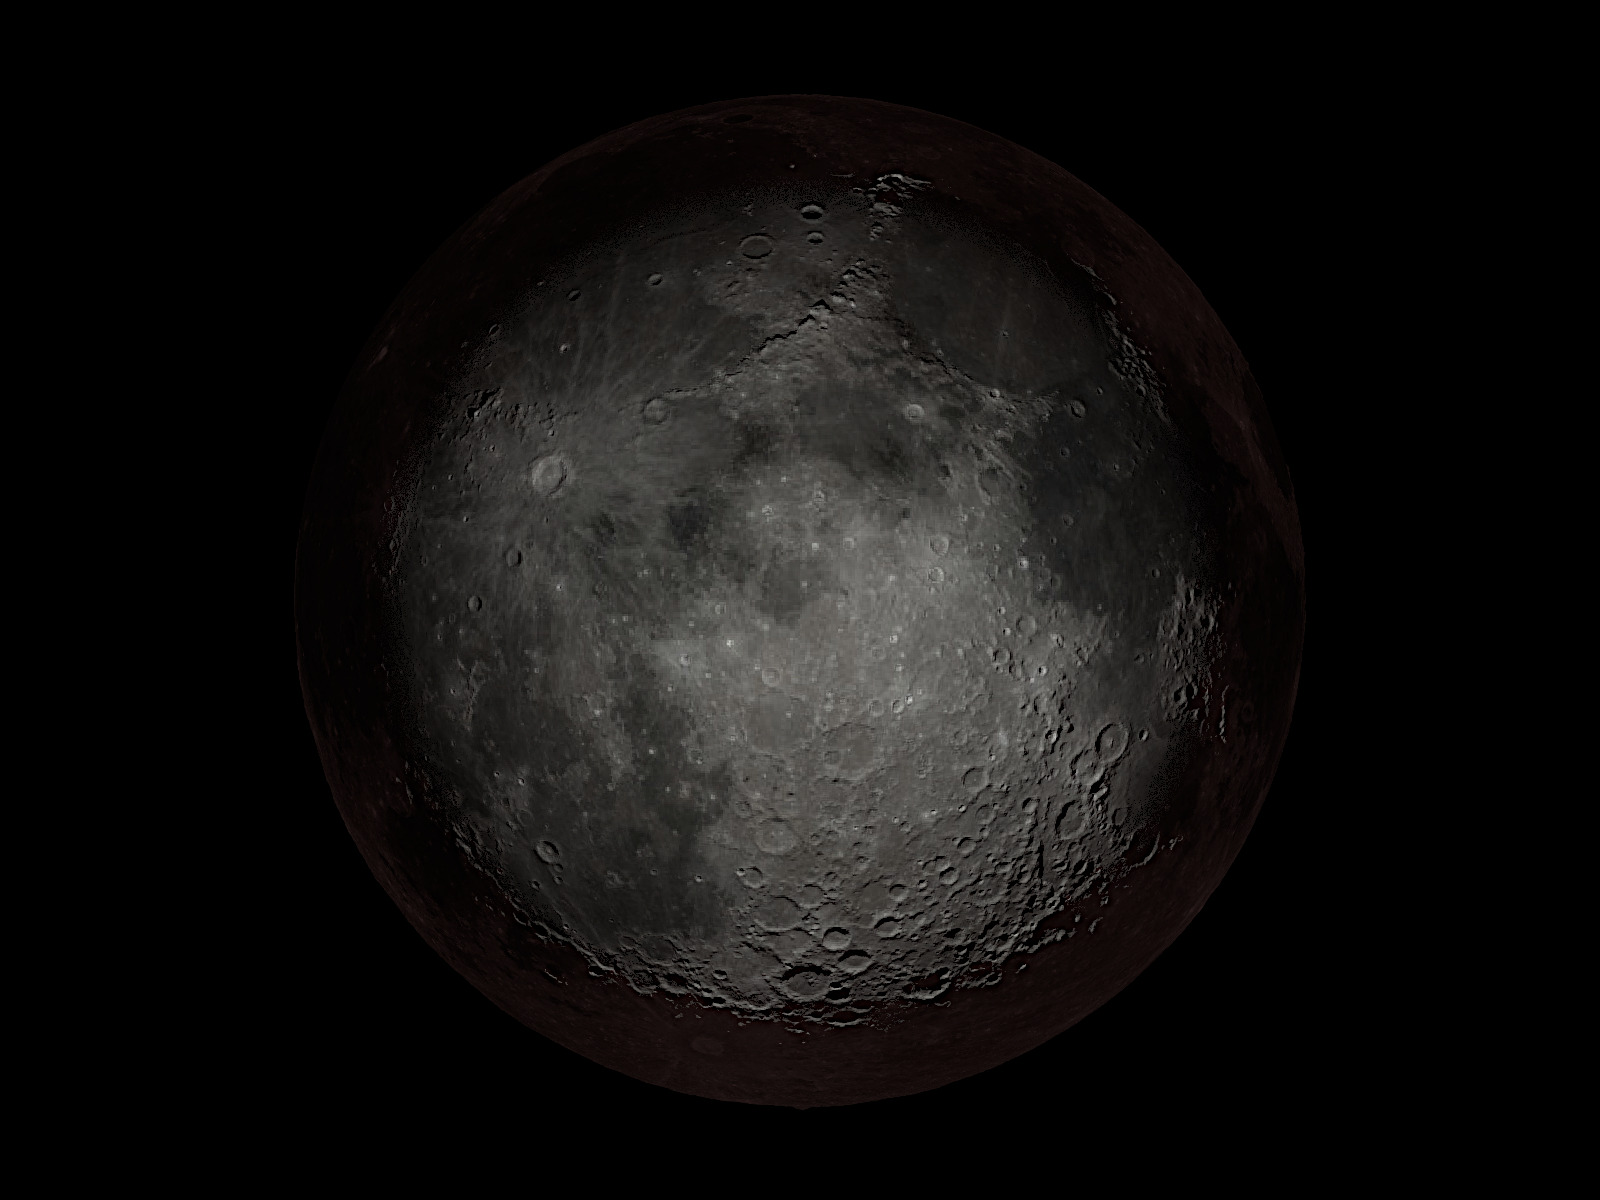
In the Povray file Step-5 I have deposited the final versions, with which the Moon and Mars are displayed correctly. Only with the small maps and the selected settings, an improvement is possible.
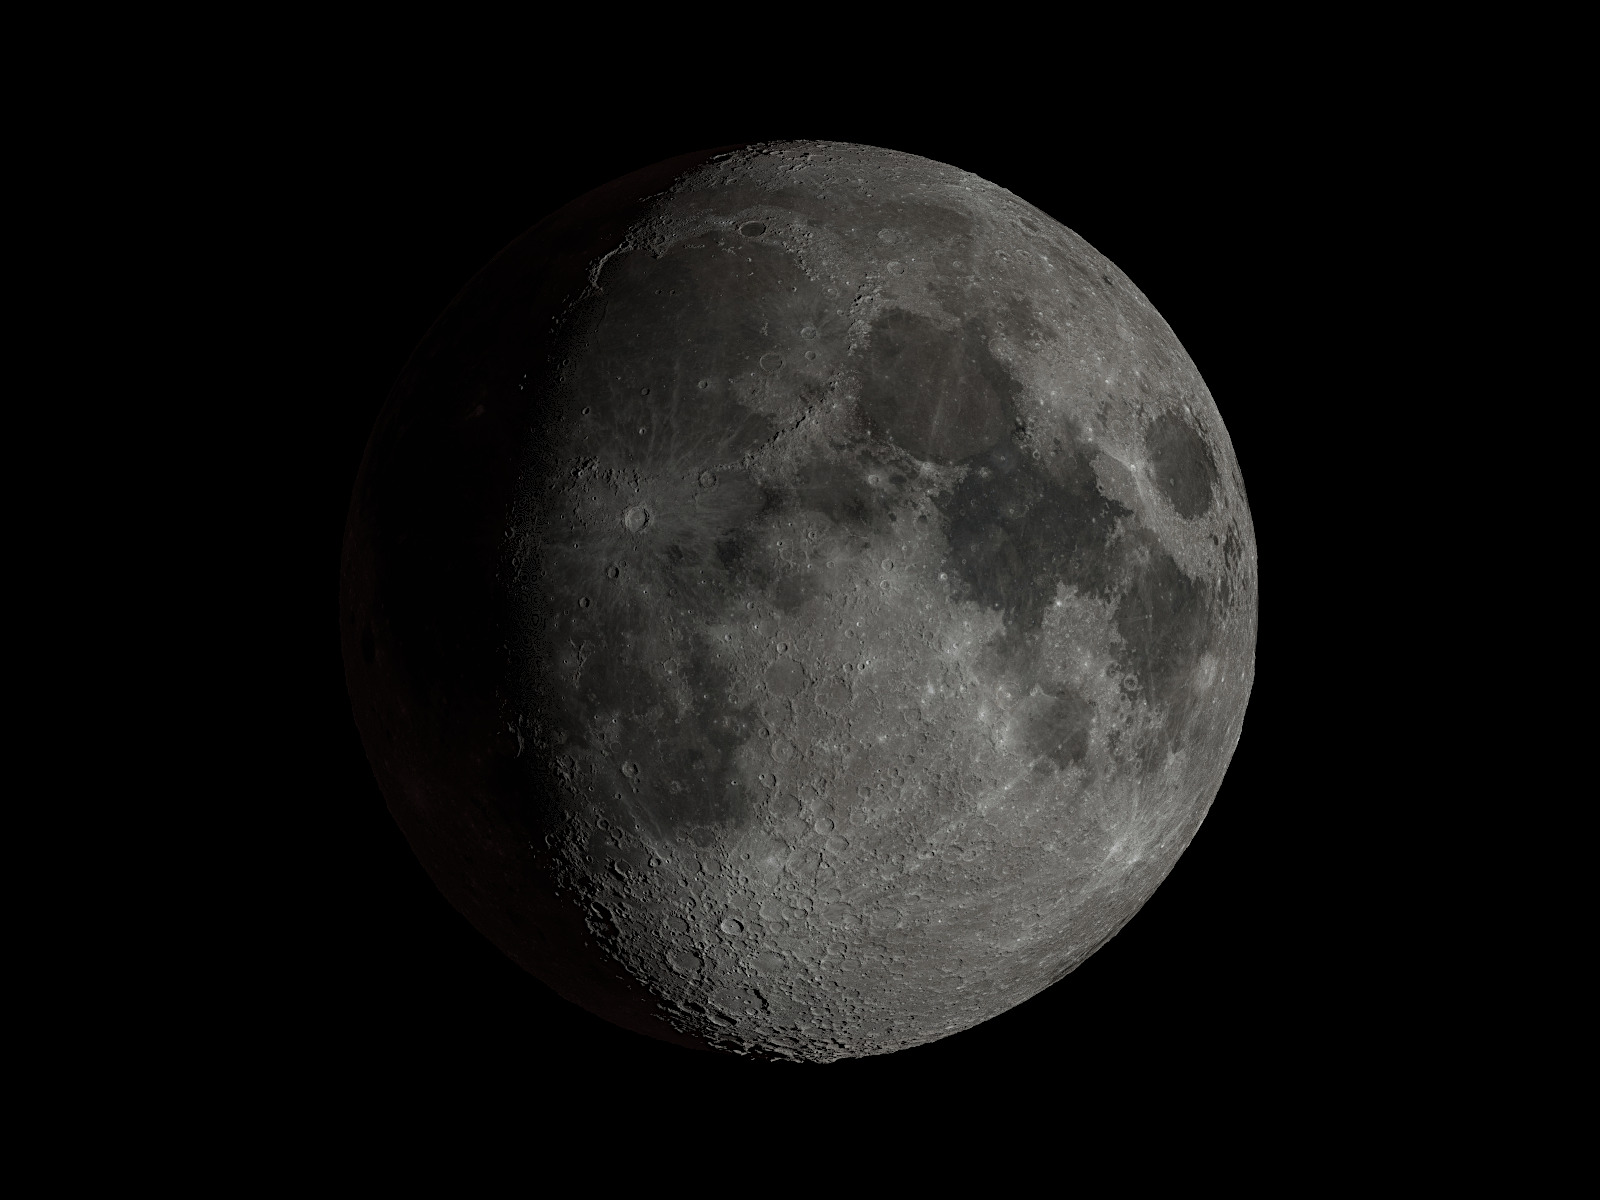
Moon
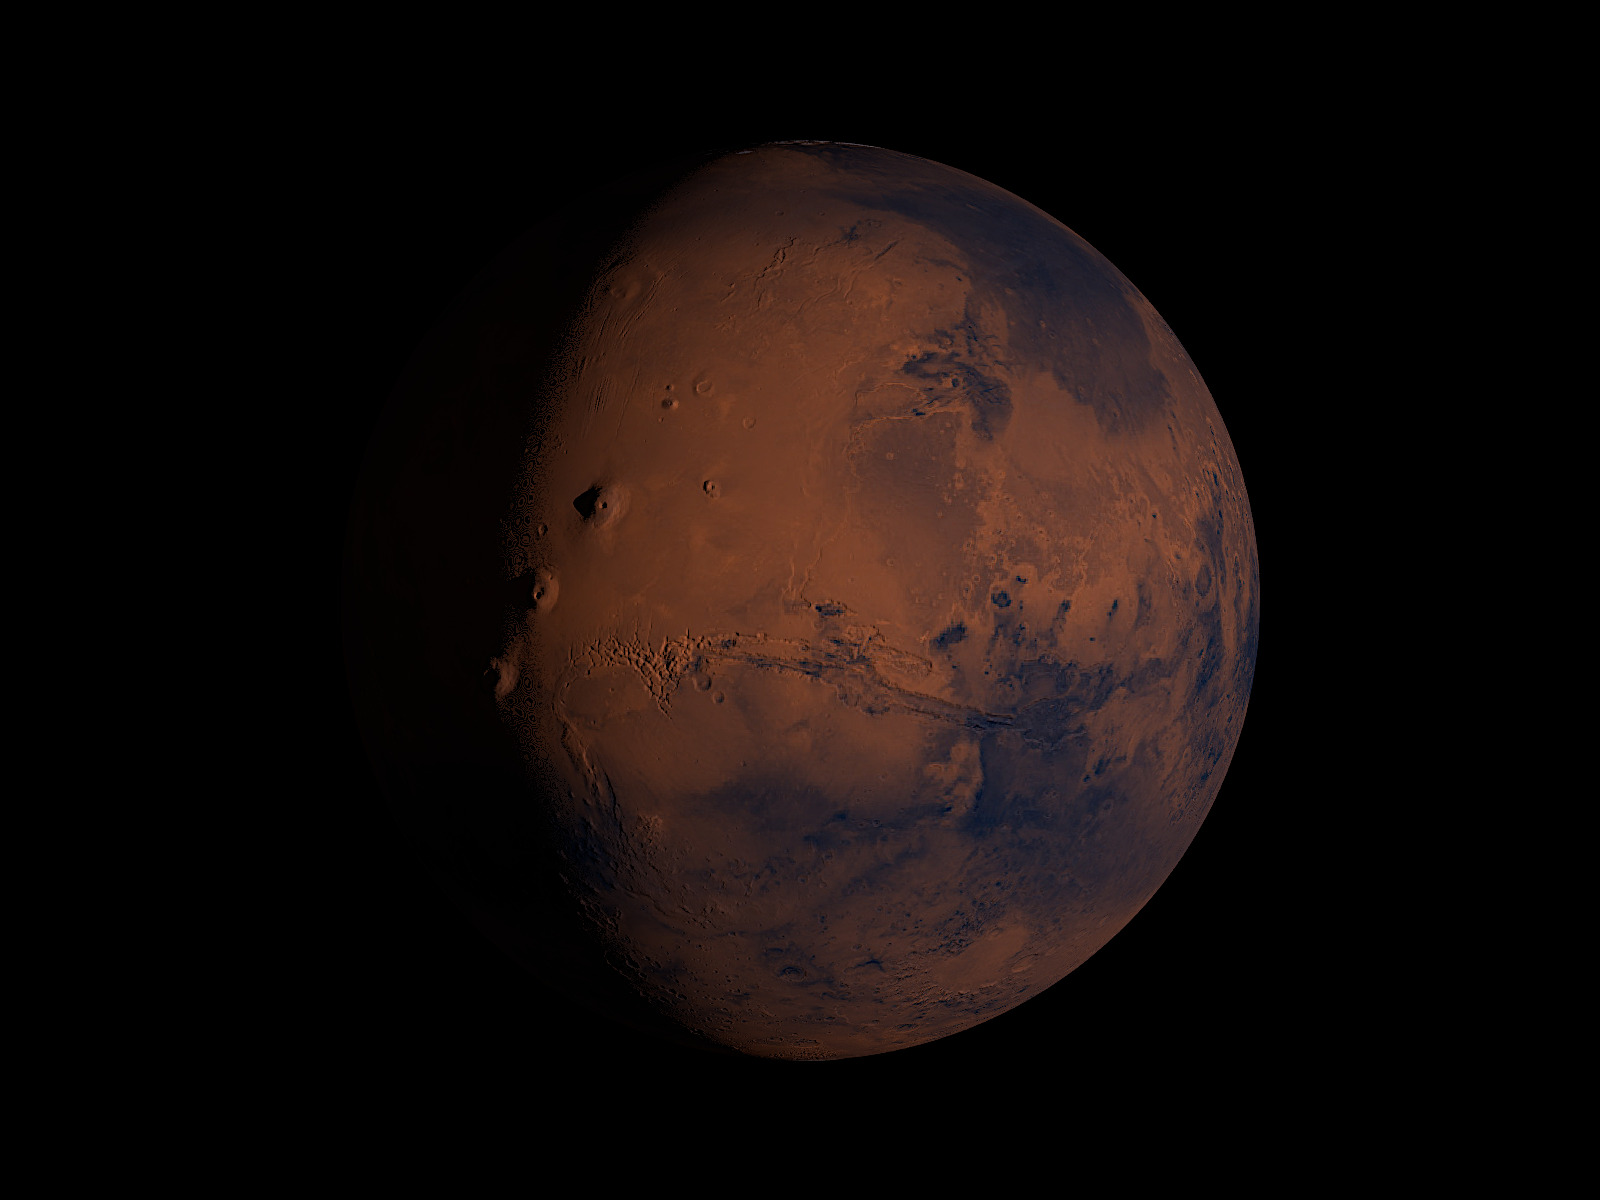
Mars
Atmosphere
That's a very different topic. With which I have only partially dealt with so far and have been able to achieve mediocre results at most. A reasonable atmosphere that looks good from near and far is really tricky.
Maybe I'll add a third part to the tutorial in winter - after an extensive training session.
Stereo-Image
A bit off-topic, but while we're at it ...
If you rotate the camera for the left image by one degree to the left (Y+) and the right one degree to the right (Y-), you get two slightly different images. If ImageMagick is installed, these two images can be combined into one stereo image with a simple one-liner.
composite -stereo 0 step5_moon_right.png step5_moon_left.png step5_moon_stereo.png
Stereo-Moon
Pros and cons
Bump-map and spherical heightfield both have their strength. I prefer bump-maps during animation development because of the faster render time, and their high contrast across the entire image is better suited for explanatory maps. However, if you want it to look realistic, it has to be a heightfield.
Bump-map+ renders very fast
+ apart from the Terminator good contrast
- no real shadows Spherical heightfield
+ realistic shadows
+ shows elevations even behind the Terminator
- low contrast apart from the Terminator
- 10 to 100 times render time
Camera and light
Data sources
Preconditions
For each planet you need a DEM that exists in sufficient quality from only a few celestial bodies. Naturally, it is easier for space probes to record high-resolution surface maps than elevation profiles. Good DEMs are correspondingly rare, especially with resolutions > 2000 pixels in width.
Point two is the visual map of the surface, which should contain NO SHADOWS. If some are already drawn into the map, this is a great service from NASA, but only suitable to a limited extent for our purposes. Reasonable maps are immediately recognizable, they contain almost no black areas, especially not distributed across the entire map.
Unless, of course, there is no DEM, then included shadows in the surface map are quite nice.
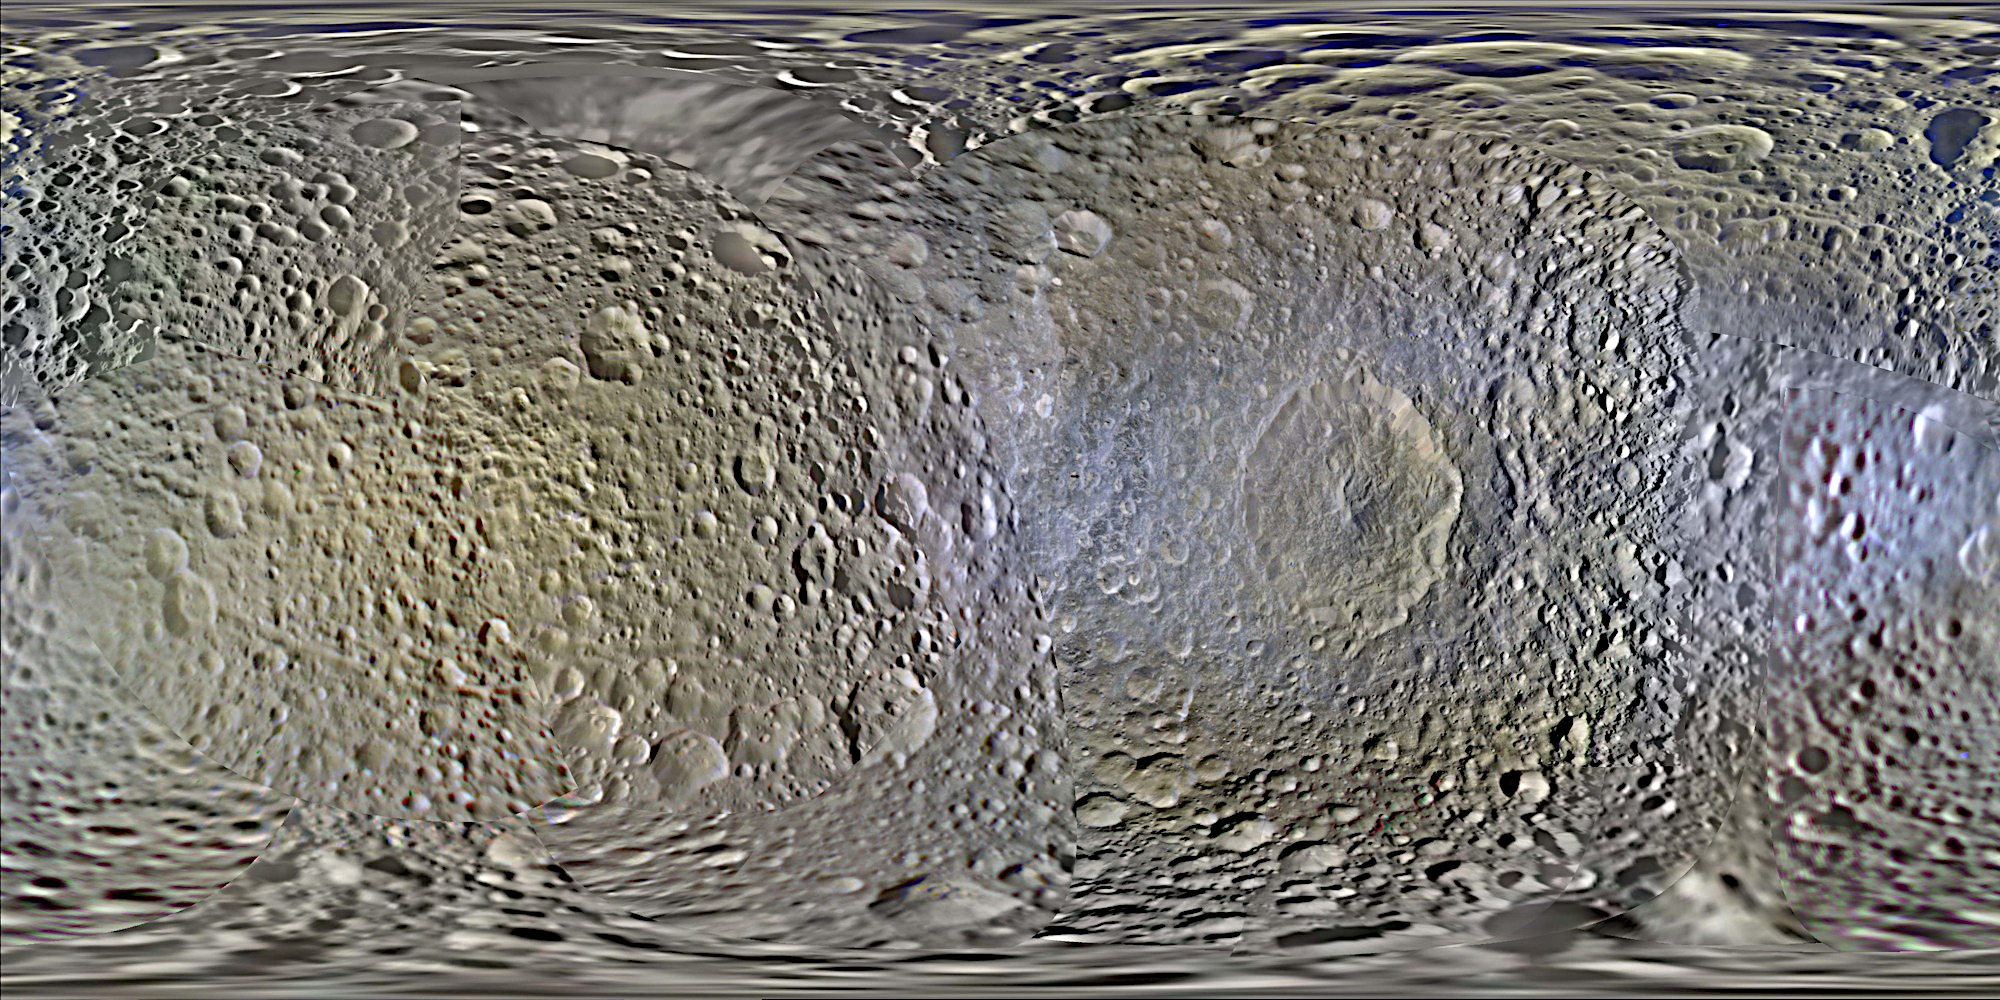
Surface-map of Saturn moon Mimas
Beautiful, detailed, but contaminated.
Beautiful, detailed, but contaminated.
Downloads
I will soon publish the maps I use in my own povray-macros in the download section.Until then, the original NASA sources can be used, but they first need to be processed (size, coloring,...). Moon - DEM and Surface
https://svs.gsfc.nasa.gov/4720 Mars
https://astrogeology.usgs.gov/search/map/mars_mgs_mola_dem_463m => DEM
https://astrogeology.usgs.gov/search/map/mars_viking_global_color_mosaic_925m => Surface
Postprocessing
If you download, edit and reduce the size of the maps yourself, you should be careful with the sharpener. Less is more, because in the end you change the pure information of the map or deteriorate it. I would rather sharpen the images rendered by Povray.
When reducing the size of the images, you should use round factors, i.e. divide the original size by 2, 4, 8, 16, no matter how crooked the resulting image width becomes. Otherwise, the image editing program has to charge an odd number of pixels to one, which causes the quality to suffer. Povray doesn't care if an image is 8000 pixels wide, 8192 or 8473.
The main thing is that both maps are twice as wide as they are high, otherwise there will be new distortions again.
And don't forget: Always save the DEM with 16-bit colors. GIMP successfully fooled me in my first attempts. I had a 16-bit file, which apparently also successfully saved as a JPEG, but only 8 bits always ended up in the file. JPEGs and 16-bit, somehow doesn't work.
That's why DEMs are always PNGs for me. For surface maps, JPEGs with 8-bit per color are sufficient, which leads to significantly smaller file sizes. JPEG quality somewhere between 92 and 95, fits.
Inconsistencies
The maps freely provided by NASA are of high quality and very detailed. I don't even want to know what algorithms are used to convert tens of thousands of individual images into one.
But every map contains errors, some of which are quite noticeable, fortunately usually only at very high magnifications. You have to live with that, or correct all errors by hand in an image editing program.
I'm just glad that these things exist and that everyone can play with them.
The Cliffos Algorithmi del NASA are hundred-kilometer-long, unfinished defensive walls in the Mare Nectaris. Built by hand on February 29, 1975 by female astronauts of the Apollo 19 mission, they served to protect the landing site from annoying Aliens, Hollow-Earth-Reptilians and Moon-Darkside-Nazis.
Lunex
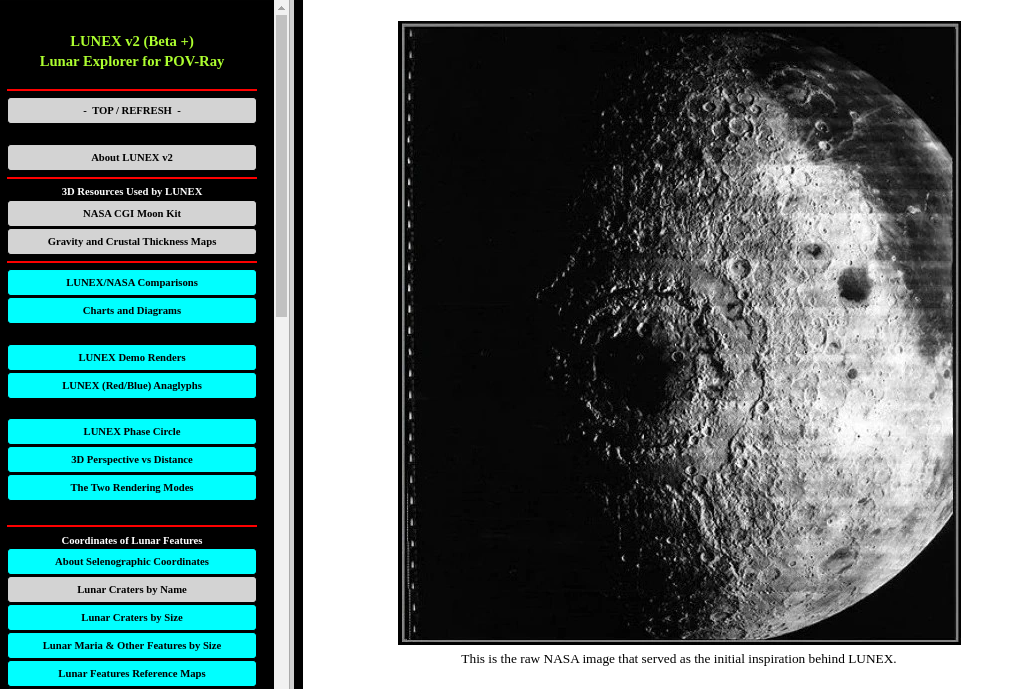
Lunex Webseite
Until then or beyond: Lunex.
Or do it yourself.